I made an article about photogrammerty a few months back, but have learnt a few new things since, so it’s time for a revamp !
I came across this awesome tutorial on YouTube by CG Geek, and I followed his tips.
I will only work on the render part of the photogrammetry, using only the little buddha scene from last time. The texture settings will be much better, as I’ll use nodes this time to set all the properties.
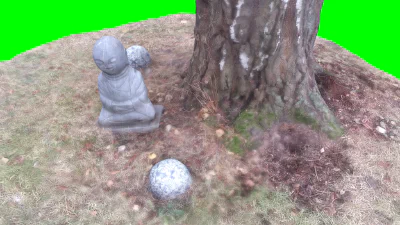
Here is what I came up with :

How it was made
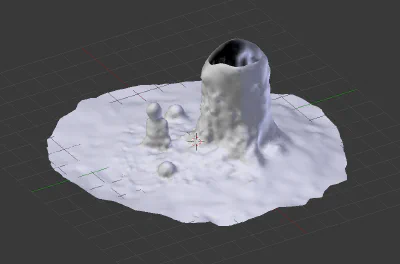
I first imported the raw model, textureless
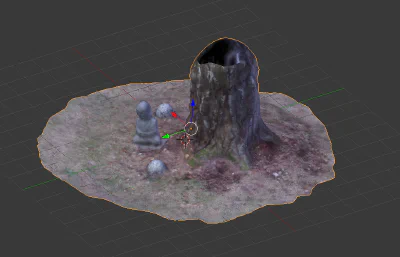
Then I added the raw texture
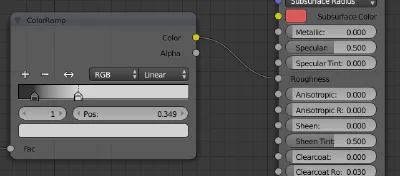
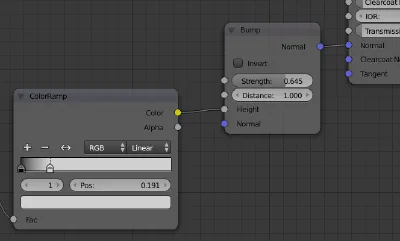
I created a material, and used the nodes to configure it :


There is a rougness which depends on the darkness of the texture : the darker, the smoother.
I added a bimp map to create little bumps where the texture was the darkest. That added to the realism of the tree bark, and created some wear on the statue itself.
I added a background HDR from HDRI Haven, awesome website, I really recommend ! It’s all free to use high quality material ! Feel free to help their patreon page
Then I played with the camera settings, finding a nice view, setting the focus point and opening the aperture for the background and foreground to be a bit blurry.

And that’s it ! I thing this result is way better than last time !
